
hibernate in windows 10 – If you are a Windows user, then you might have noticed that the “Hibernate option” is disabled by default. Microsoft started disabling this feature from windows 8/8.1 till the most recent windows OS, while other options like Sleep, Shut down, and Restart are there.
The Hibernate option allows a computer to save its current state to the hard drive and power off, thereby enabling the system to resume exactly where it left off when powered back on.
Also read: 12 Amazing Facts About Computer & Internet you Should Know
How to Enable Hibernate in Windows 10
Follow the steps below to enable Hibernate power feature on windows 10 or 11
step 1. Open Power Options:
- Press the
Windows keyor click on the Windows icon in the taskbar to open the Start menu. - Type “Power Options” and press
Enterto open the Power & sleep settings.
Step 2: Choose what the power button does:
- In the Power & sleep settings, click on “Additional power settings” on the right side.
Step 3: Change plan settings:
- Find the power plan that you are currently using (it’s usually “Balanced” by default) and click on the “Change plan settings” link next to it.
Step 4: Change advanced power settings:
- In the Edit Plan Settings window, click on the “Change advanced power settings” link.
Step 5: Enable Hibernate:
- In the Power Options dialog box, scroll down and find the “Sleep” category.
- Open the “Sleep” category, and you should see an option called “Hibernate after.”
- Change the value to a desired time or set it to “Never” if you want Hibernate to be available all the time.
Step 6: Apply Changes:
- Click “OK” to apply the changes.
Step 7: Enable Hibernate option:
- Now, you need to enable the Hibernate option itself. Open a Command Prompt window with administrative privileges. To do this, right-click on the Start menu, select “Command Prompt (Admin)” or “Windows PowerShell (Admin).”
Step 8: Type the command:
- In the Command Prompt window, type the following command and press Enter:


Step 9: Check Hibernate option:
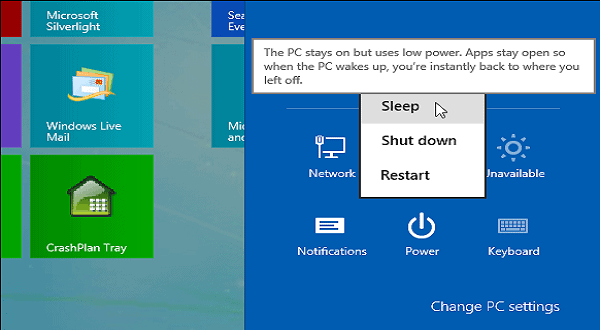
- After executing the command, the Hibernate option should be enabled. You can check this by going to the Start menu, clicking on the power icon, and seeing if the Hibernate option is now available.
Now, you should be able to use the Hibernate option on your Windows 10 computer. When you choose to hibernate your system, it will save your current session to the hard drive and power off the computer, allowing for a quick startup when you turn it back on.
How to Enable hibernate in windows 8/8.1
The steps below apply to windows 7, 8/ 8.1. This may also work for windows 10 or 11.
Step 1:
- In your desktop tray, click the battery icon and select More power options from the panel that pops up
- or right-click on the desktop and click on personalize, then click on display
- Click on adjust brightness

Also read: Top 6 Audio-based Social Media Apps for Android and iOS
Step 2:
- In the power options window, select either “Choose what closing the lid does” or “Choose what the power button does” from the left panel.
Step 3:
- on the next interface, click the blue text which says Change settings that are currently unavailable

Also Read:10 Signs of a Malware Infection on your Computer
Step 4:
- a new interface comes up with a new set of options that become available.
- Check the box next to Hibernate and click Save changes.

And now You’ll see that Hibernate option has been added to the power options list, which allows you to place your computer on hibernation.
Also Read: 9 Most Deadliest Computer Viruses that Stood the Test of Time
we love to hear from you. comment below and share.


